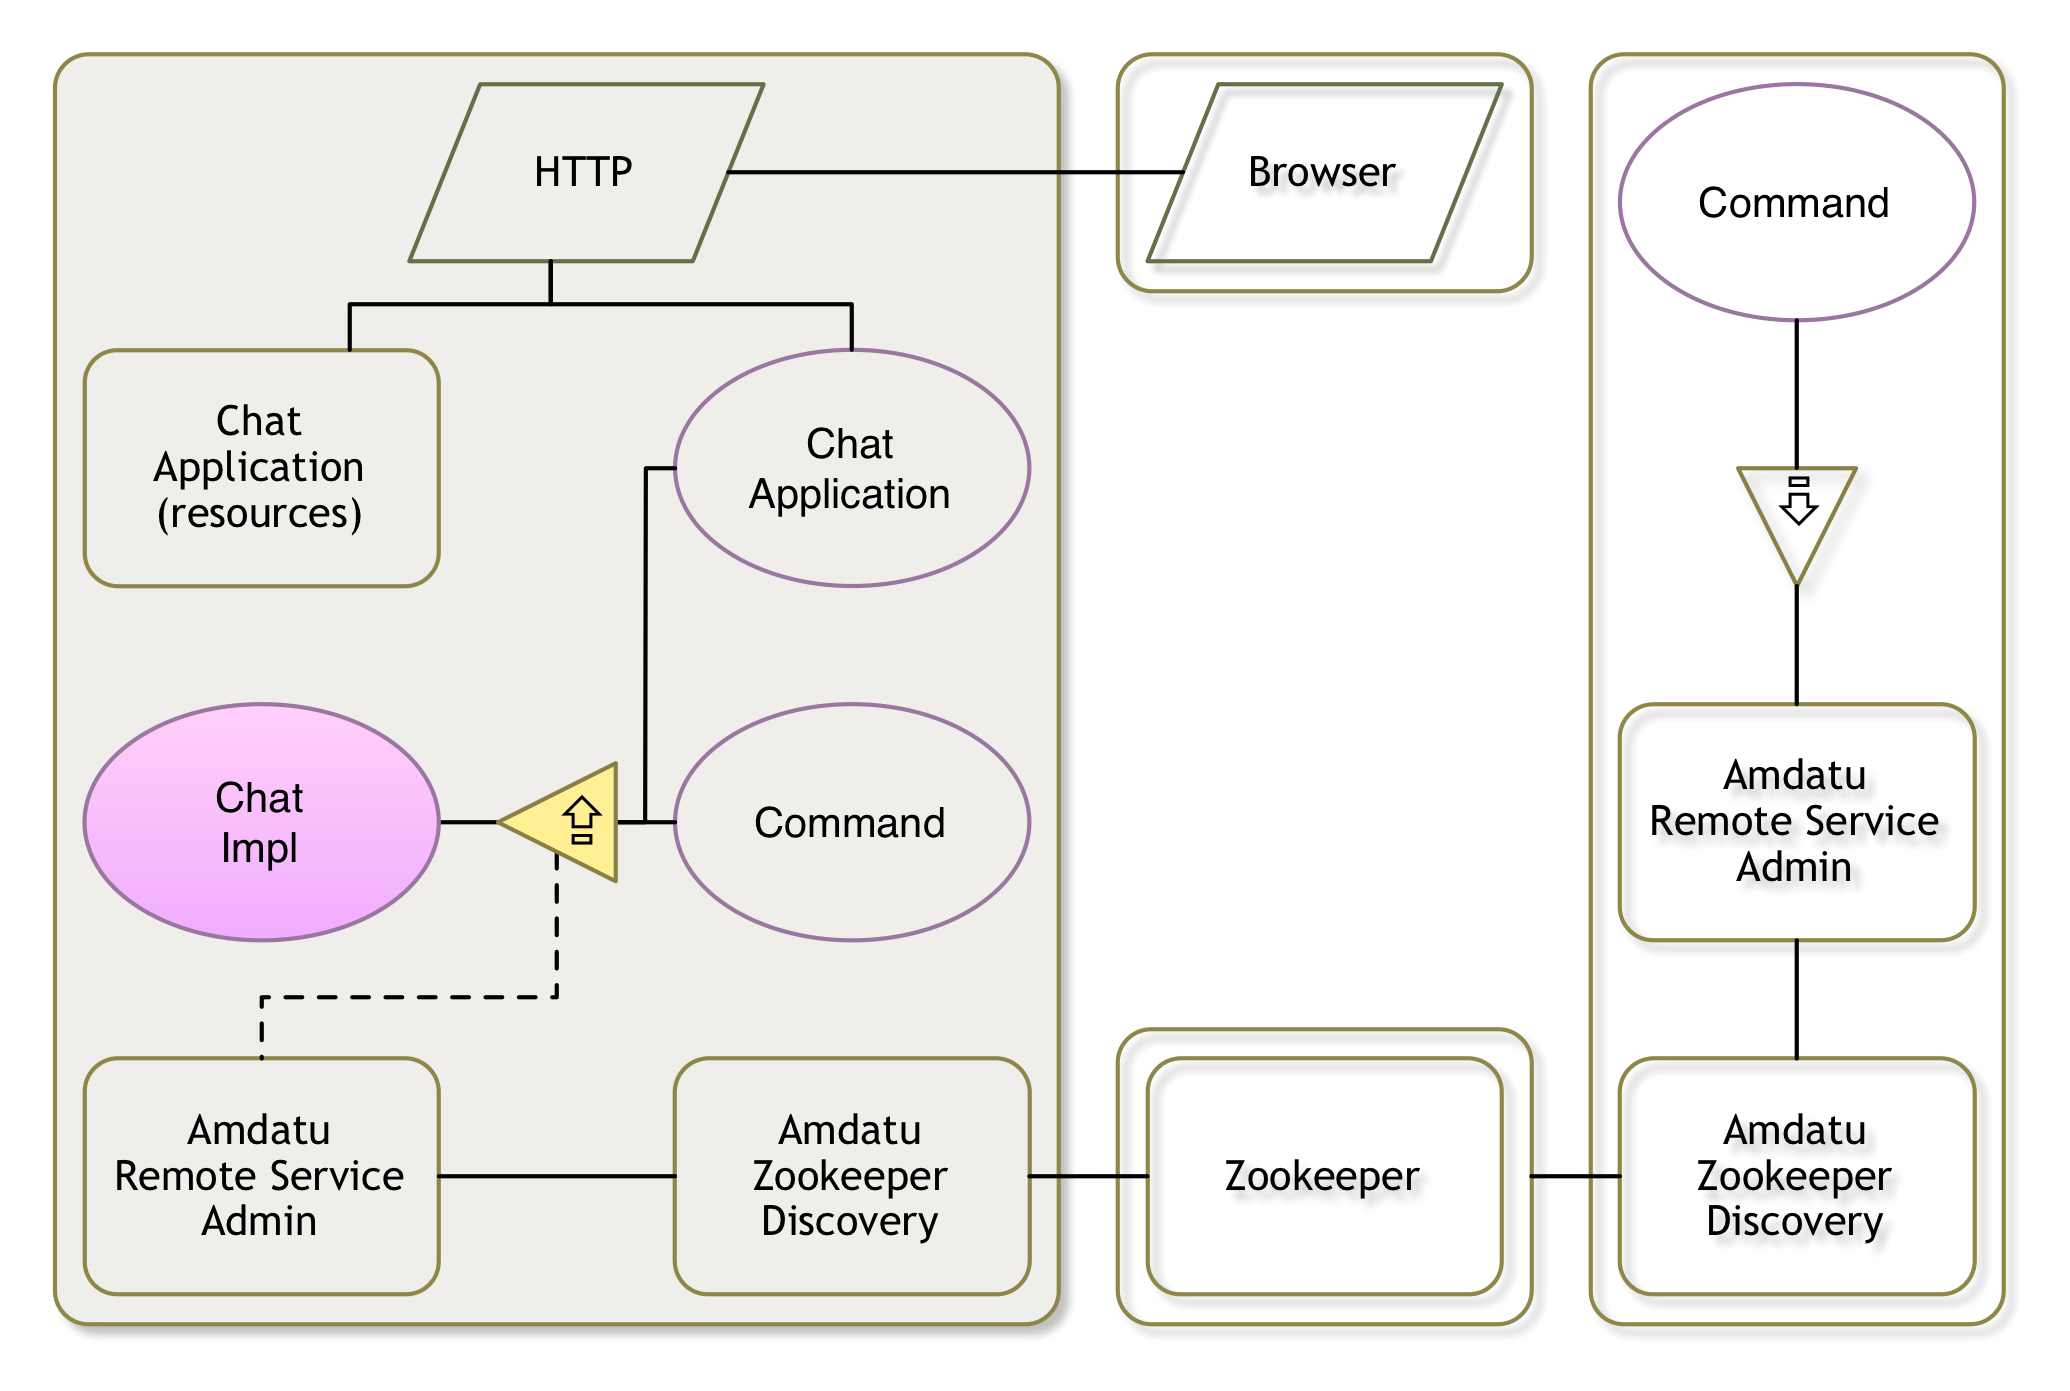
Implementing the Chat API

We now have an API so the next step is to create an implementation for the Chat service. We can keep it extremely simple in this case since we’re not interested in competing with Facebook messenger or Skype. So we make a simple provider that just sends the messages to the console.
If we create a provider Bndtools project with the OSGi enRoute templates then we get the proper setup. It will creates a project with a Declarative Services component for us. To setup a provider project, make sure the name of the project ends with .provider. In our case we will use the name osgi.enroute.examples.chat.provider for the project.
This gives us a bundle with a component like:
package osgi.enroute.examples.chat.adapter;

import org.osgi.service.component.annotations.Component;

@Component(name = "osgi.enroute.examples.chat")
public class ChatImpl {
}
Buildpath
Our first task is to add the API project to our -buildpath so we can add the Chat interface to our implementation. To extend the -buildpath, double click on the bnd.bnd file and select the Build tab. You can then press the + button or select the Source tab and edit the -buildpath instruction. It should look like:
-buildpath: \
	osgi.enroute.base.api;version=1.0,\
	osgi.enroute.examples.chat.api;version=latest
The version latest is used because the project is in the same workspace.
Writing the Implementation
To finish the implementation there are a number of things necessary.
- Implement the
Chatservice interface - Set the service property with the
user.name - Print the message to the console
The code looks then like:
package osgi.enroute.examples.chat.provider;

import org.osgi.service.component.annotations.Component;

import osgi.enroute.examples.chat.api.Chat;
import osgi.enroute.examples.chat.api.Message;

@Component(
	name = "osgi.enroute.examples.chat", // CHANGE
	property = "user.name=osgi"
)
public class ChatImpl implements Chat {

	@Override
	public boolean send(Message message) throws Exception {
		System.out.printf("%s: %s%n", message.from, message.text);
		return true;
	}

}
Make sure to change the name of the component to your namespace.
Exporting the API
In OSGi it is just very good practice to export any API that a bundle provides. In our case we provide the Chat API and we therefore should export it. The reason is that this is a lot more user friendly than bundles that require all kinds of dependencies that are always required and in general cannot be substituted.
Double click on the bnd.bnd file and select the Contents tab. Click on the + of the Export Packages list and add the API package.
Running
We can now try running the Chat implementation. For this, double click the bnd.bnd file and select the Run tab.
If we run the provider as is then we have no diagnostic tools to see what works. And since the service is lazy by design, we won’t be able to use the debugger either. So we add the Gogo shell to make this work.
Ensure that the following requirements are listed in the Run Requirements list:
- Bundle
osgi.enroute.chat.provider— (your name of course!) - Bundle
org.apache.felix.gogo.shell— Felix Gogo Shell - Bundle
org.apache.felix.gogo.command— Felix Gogo Commands
The resolve, save, and debug. This should give you a shell:
----------------------------
Welcome to Apache Felix Gogo
g!
So let’s do a quick check if your service is alive and breathing:
g! servicereferences osgi.enroute.examples.chat.api.Chat null
000054  10 Chat
Yeah!
Testing
Obviously we should write a unit test for this class but we leave that as an exercise for the reader …
Instead, we will use Gogo, the OSGi command shell, for testing our implementation in the next chapter.
Prev Next