The Workspace
What you will learn in this section
We will setup a bnd(tools) workspace for OSGi enRoute so we can change it to a Maven setup in the next section.
Before you start this section, make sure you’ve checked the prerequisites for OSGi enRoute on your platform.
The Workspace
OSGi enRoute requires that you group a number of projects in a bnd workspace. A bnd workspace is basically a directory with a cnf directory. We start with a template workspace by getting it from git.
This is the BETA tutorial for OSGi enRoute 2.0.0. To use the right workspace template,
go to Bndtools preferences and select Workspace Templates. You should edit the
OSGi enRoute template and select the next branch.
This tutorial requires Bndtools 7.0.0 or later, the workspace templates were added in 3.2.0
We generally advise you to place things in your home directory (~). However, Eclipse does not recognize the tile (~) as a reference to your home directory so different paths are shown in the pictures.
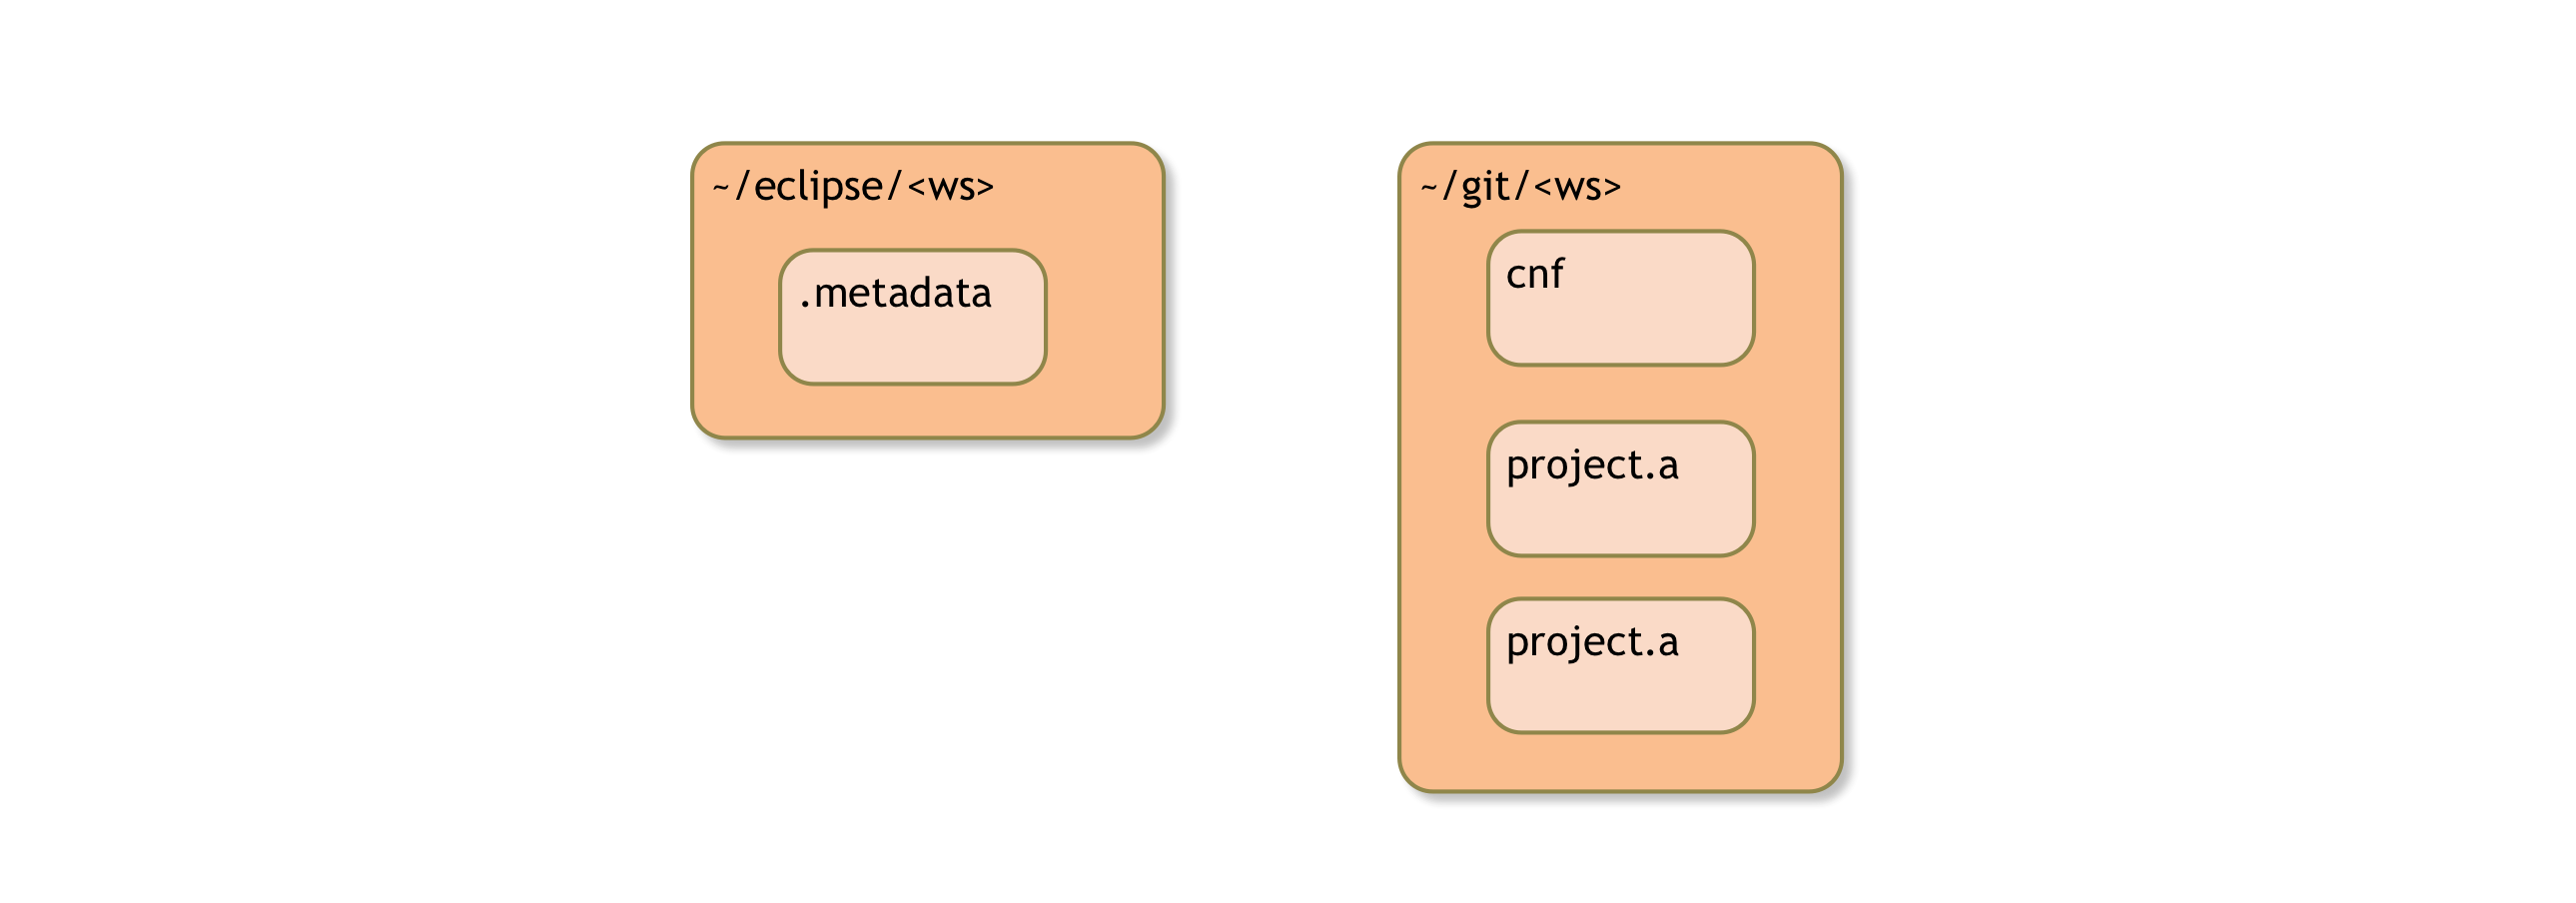
Two Workspaces???
First get some confusing stuff out of the way. We will have two (2) workspaces:
- Eclipse – The Eclipse workspace. An Eclipse workspace is a directory with a
.metadatadirectory. In OSGi enRoute tutorials we never place any projects in this directory. This directory will never be stored in Git or another SCM, it should therefore only contain your local preferences and information. To make it easy to switch between Eclipse workspaces, it is suggested to place all Eclipse workspaces in one easy to access directory. For example/Ws/eclipse. - bnd – All projects will reside in a single bnd workspace directory. The bnd workspace is stored in Git or an alternative SCM. It must therefore never contain any personal stuff. A bnd workspace is flat, the
cnfdirectory and all project directories must reside in exactly the same parent directory, which is the workspace directory. Sorry, no exceptions. The bnd workspaces could be grouped in a directory for Git. Eclipse recommends~/git.
The structure is depicted in the following illustration:
Opening Eclipse (Or Switching Workspace)
If you start Eclipse you will have to open the Eclipse workspace, see the previous issues. At the start of Eclipse (or when you do File/Switch Workspace) you will see the following dialog:
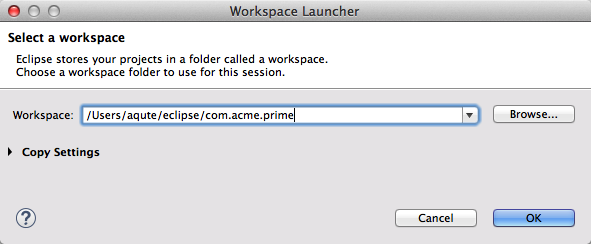
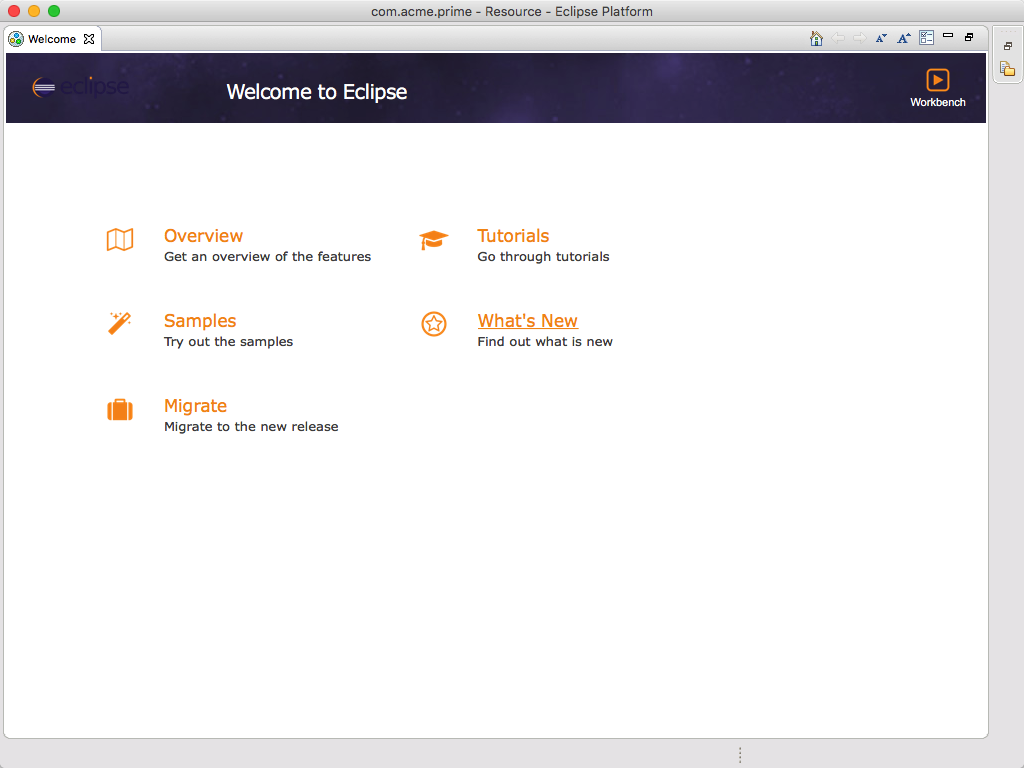
After filling in the proper path and then closing the dialog by clicking OK, we get an Eclipse restart. After Eclipse is done, we should finally get:
Creating the bnd Workspace
To create a new bnd Workspace we use the New/Other/Bndtools/Bnd OSGi Workspace menu:
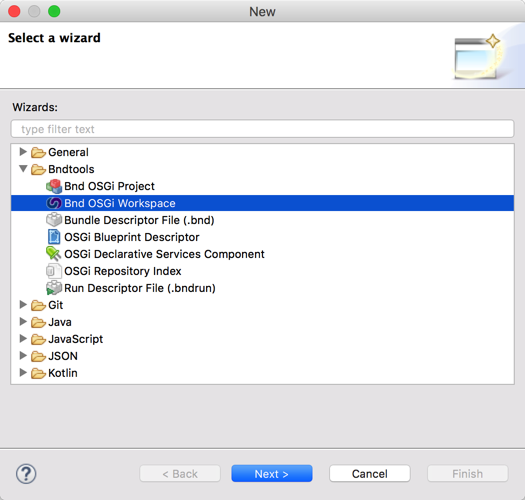
Select Bnd OSGi Workspace and click Next. This will bring you to a dialog that allows you to specify the location of the bnd workspace. Here we must select the Create in radio button because it is bad practice to use the same directory for the bnd workspace as the Eclipse workspace as explained before.

Clicking on Next will bring us to the window that selects the template that we will use. In this case we will obviously choose the OSGi enRoute template.

After you selected the template and clicked Next then Bndtools will show you proposed new content of the workspace in a list. If you would update an existing workspace you could control any conflicts.
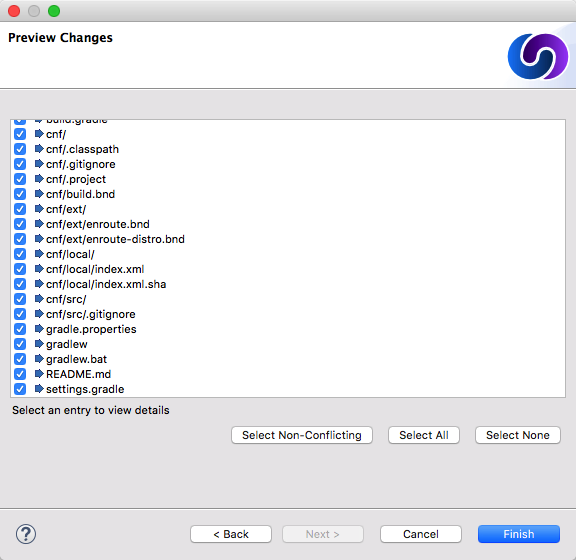
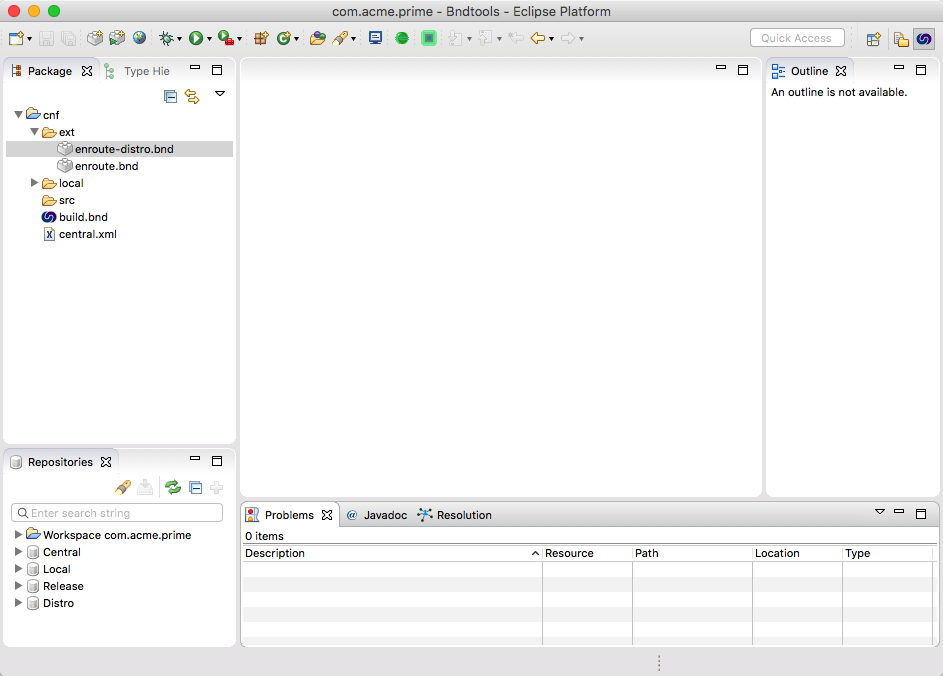
In our case we just click Finish and we’re done! Our Eclipse should look like:
Existing Setup
The standard OSGi enRoute setup uses a Maven repository and a number of indexed repositories. You can find these definitions in ./cnf/ext/enroute.bnd and ./cnf/ext/enroute-distro.bnd. Look at the created plugins. In this tutorial, we will replace the Release repository and the Maven Central repository by overwriting the values for their plugin definitions.
In a company wide setup it is recommended to create a custom workspace that has this setup.
Next
In the next section of this quick start tutorial we will create a sample application.
Prev Next
